For homeowners relying on the Fleck 5600SXT water softener, regular brine tank cleaning is often overlooked but absolutely essential for long-term system performance. Over time, salt residue, bacteria, and sediment accumulate in the tank, leading to reduced efficiency and potential repair costs. This step-by-step guide provides a thorough, practical approach to cleaning the Fleck 5600SXT brine tank, ensuring your system delivers consistently soft water for years to come.
Why Does the Fleck 5600SXT Brine Tank Need Regular Cleaning?
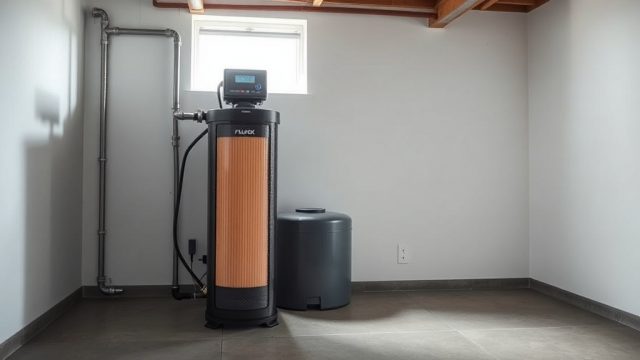
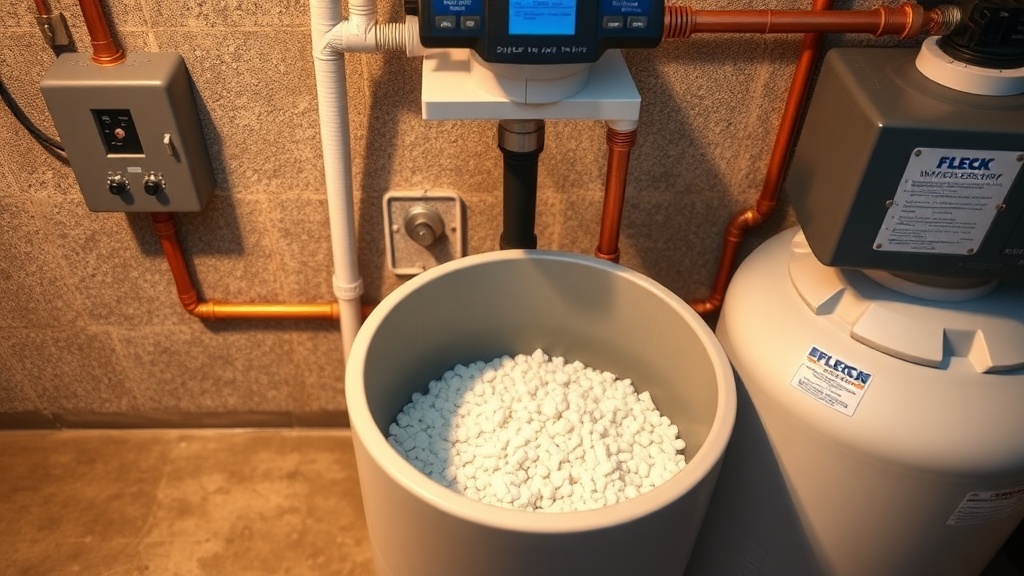
The Fleck 5600SXT brine tank is where salt dissolves to create the regenerating brine solution. Without periodic cleaning, dried salt forms a hard crust at the bottom, known as a salt bridge, which prevents proper brine saturation. Furthermore, stagnant water can breed bacteria and iron-oxidizing slime, clogging the venturi and injector assembly. A neglected brine tank forces the control valve to work harder, increasing salt consumption and reducing softening capacity. Cleaning every 6 to 12 months, depending on your water quality and salt type, prevents these issues and extends the lifespan of your unit.
What Tools and Materials Do I Need for the Cleaning Process?
Before starting, gather the necessary equipment to work efficiently and safely. Below is a complete list of recommended items for cleaning a Fleck 5600SXT brine tank:
- Safety gear: Rubber gloves, safety goggles, and a dust mask (to avoid inhaling fine salt dust).
- Removal tools: A small vacuum (shop vac) for removing leftover brine and loose debris, and a stiff-bristled brush or sponge.
- Cleaning agents: White vinegar (1-2 gallons for mild scale removal) or a resin/bio-cleaner designed for water softeners. Avoid harsh chemicals like bleach.
- Replacement parts (optional): A new brine tank lid seal or a fresh salt grid if the old one is cracked. Check the Fleck 5600SXT Salt Bridge Formation: Causes and Fixes guide for signs of grid damage.
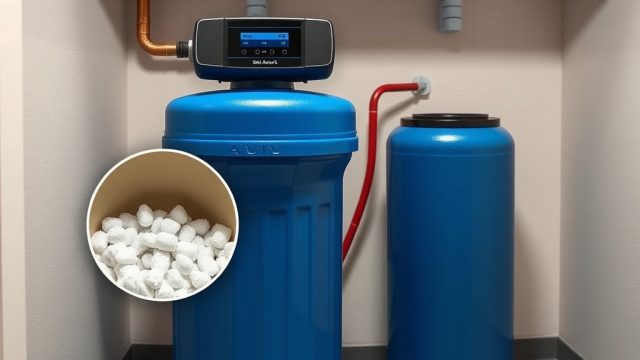
- Supplies: A bucket, clean cloths, and high-quality water softener salt (evaporated or solar salt, not rock salt).
Having these items ready ensures you won’t interrupt the cleaning process halfway through. Always unplug or put the softener into bypass mode before opening the brine tank.
How Do I Drain and Remove the Remaining Brine Safely?
The first physical step is to empty the brine tank of all water and salt residues. Follow this sequence carefully:
- Set the Fleck 5600SXT control valve to the “Brine Fill” position manually (if available) or run a manual regeneration cycle to pump the brine into the resin tank. This reduces the water level in the brine tank. Alternatively, use a shop vac to remove the liquid.
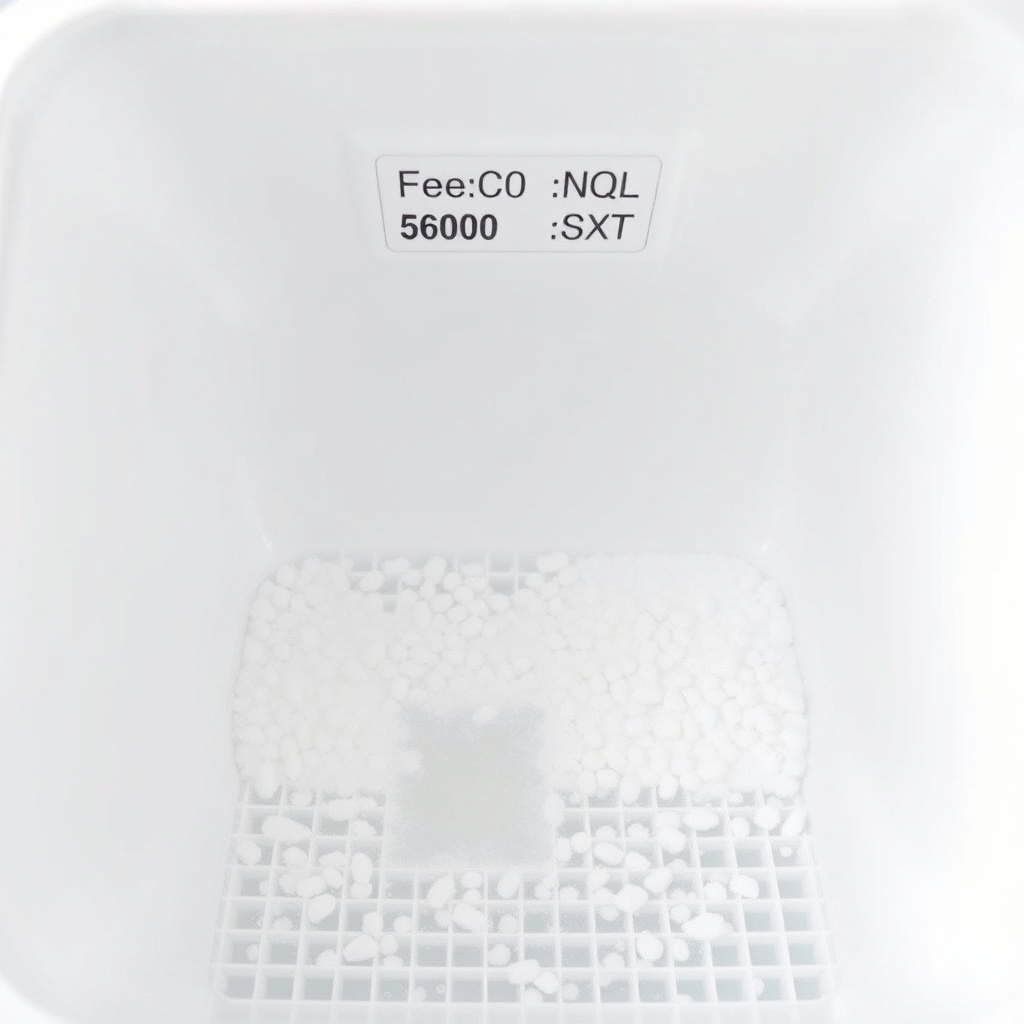
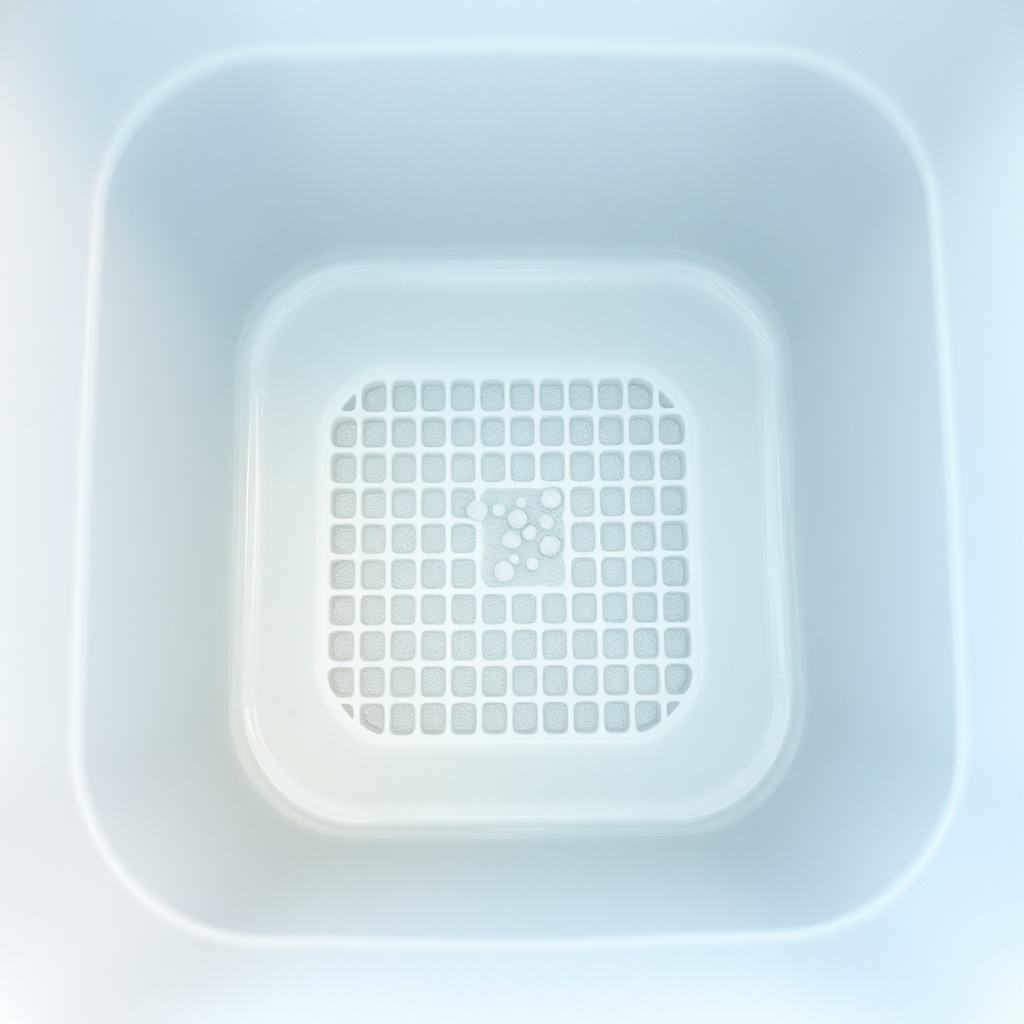
- Remove the salt storage grid (the plastic platform that sits below the salt pile). Set it aside for later cleaning. Use a plastic scoop or gloved hands to transfer any remaining dry salt to a temporary clean bucket. Do not dispose of it—it can be reused if free of debris.
- Vacuum out the remaining brine water and any fine sediment at the tank bottom. Pay attention to corners where clumps often form. A wet/dry vacuum makes this step much faster than bailing.
Once the tank is empty, inspect the interior for cracks, algae, or iron staining. If you notice any deep cracks, the tank may need replacement. For minor residue, cleaning will suffice.
What Is the Correct Way to Scrub and Disinfect the Brine Tank Interior?
After draining, scrubbing is the most important part of the process. Do not skip this step—even if the tank looks clean. Mineral deposits, bacteria, and biofilm can cling to the walls and base. Here is the proper method:
- Mix a solution of 1 part white vinegar to 4 parts warm water in a bucket. The vinegar’s mild acidity dissolves calcium and iron scale without damaging plastic components. For persistent organic growth, use a bio-cleaner specifically labeled for water softeners.
- Using a stiff-bristled scrub brush (avoid steel wool, as it scratches the plastic), scrub the entire interior surface—walls, bottom, and under the salt grid area. Pay special attention to the brine well (the tube where water exits the tank) and the float valve area.
- Rinse thoroughly with clean water. Use the shop vac to remove all rinse water. Repeat rinse until the water runs clear and free of any soap or vinegar residue. Any leftover vinegar may affect the brine pH during the next regeneration.
- Dry the interior with a clean cloth. This prevents water from promoting immediate mold growth before the salt refill step.
A clean brine tank significantly improves Fleck 5600SXT Salt-Based Efficiency: How Much Salt Does It Really Use?, as the brine concentration becomes more uniform during regeneration.
| Issue | Severity Level | Recommended Action | Frequency of Occurrence |
|---|---|---|---|
| Salt bridge (hard crust on top) | Moderate | Break the bridge with a plastic tool, then clean all debris. | Common (every 3-6 months) |
| Mushy salt sludge at bottom | High | Vacuum out completely; check for water level setting errors. | Occasional |
| Gray/black slime (bacteria) | Moderate | Disinfect with bio-cleaner; rinse thoroughly. | Rare (poor water quality) |
| Mineral scale (white hard deposits) | Low | Use vinegar solution and scrub. | Common |
| Damaged salt grid | High | Replace immediately; causes uneven salt distribution. | Rare |
How Do I Refill the Brine Tank Properly After Cleaning?
Once the tank is sanitized and dry, the refill process is critical to avoid future problems. Do not simply dump salt back in. Follow these steps:
- Reinstall the clean salt grid platform. Ensure it sits flat on the bottom of the tank. If the grid is warped or broken, order a replacement before proceeding.
- Add the reserved salt (if it came from the tank and is free of debris) or new salt. Pour the salt slowly in the center, allowing it to spread evenly. Fill the tank to about 2 inches below the top of the brine well overflow tube. Do not overfill, as salt can block the float assembly.
- Add fresh water to the brine tank until it reaches halfway up the salt grid. This initial water helps start the brine dissolution process. The Fleck 5600SXT will automatically fill the rest during the brine fill cycle.
- Check the brine tank float valve. It should move freely. Adjust the float height if needed per the manufacturer’s specifications (typically around 5-6 inches from the bottom).
- Run a manual regeneration cycle (follow your Step-by-Step Installation Guide for the Fleck 5600SXT Water Softener for control valve programming if needed) to ensure the brine is drawn correctly. Observe the brine level dropping during the brine draw phase.
A properly filled brine tank prevents the issues that lead to Fleck 5600SXT Error Codes: Quick Troubleshooting Guide, especially error codes related to low brine flow.
What Regular Maintenance Extends the Time Between Brine Tank Cleanings?
Preventive habits can reduce the need for deep cleaning. Here are practical tips for Fleck 5600SXT owners:
- Use high-purity evaporated salt instead of rock salt. Rock salt contains more insoluble impurities (sand, clay) that accumulate at the bottom of the brine tank.
- Keep the salt level between ¼ and ¾ of the tank’s capacity. Never let it drop too low, which can expose the grid to air and cause salt to harden in an uneven pattern.
- Check the brine tank water level every two months. The water should be clear and sit just above the grid. Cloudy or colored water indicates that a cleaning is overdue.
- Install a whole-house sediment filter before the water softener to catch dirt and rust that would otherwise settle in the brine tank. This also protects the control valve internals.
- If you notice slow salt consumption or hard water breakthroughs, inspect the Fleck 5600SXT Hard Water Test: How It Performs in High-Grain Water results to determine if the brine tank is underperforming.
By adhering to these tips, you can often stretch the cleaning interval to 12 months, saving time and effort.
What Owners Say
Fleck 5600SXT owners consistently report that regular brine tank cleaning resolves many common issues. On forums and review sites, several themes emerge:
- “I was getting a ‘brine draw’ error on my screen. After cleaning out two inches of sludge from the bottom, the error stopped. It’s easy to ignore until it fails.” – Mark T., Florida.
- “Using evaporated salt made a massive difference. I used to clean every 4 months; now I’m at 9 months and counting. The tank stays much cleaner.” – Diane L., Colorado.
- “I followed the vinegar scrub method from this guide exactly. The inside looks brand new. I also checked the salt bridge issue afterward and found none.” – Samuel K., Texas.
- “The biggest lesson was not to overfill the brine tank. I had too much salt preventing the float from working. A quick vacuum and refill fixed it.” – Rachel H., Ohio.
- “I combined the cleaning with a full system check using the troubleshooting guide. Now my softener runs like it did on day one.” – Tom B., California.
These real-world experiences underline the value of consistent brine tank maintenance for Fleck 5600SXT systems.
Frequently Asked Questions
How do I know when my Fleck 5600SXT brine tank needs cleaning?
Signs include cloudy or discolored brine water, salt clumping into a solid mass (salt bridge), reduced water softness (hard water feeling), or visible slime on the inside walls. Also, check the brine level—if it seems unusually low or high, cleaning is likely needed.
Can I use bleach to clean the brine tank?
No, bleach is not recommended because it can damage the plastic and leave residues that could degrade the ion exchange resin. Use white vinegar or a dedicated water softener cleaner instead. If you suspect heavy bacterial growth, choose a bio-cleaner designed for softeners.
What if my brine tank has a crack or leak?
A cracked brine tank must be replaced immediately, as it will leak water and lose the ability to maintain proper brine levels. Contact the manufacturer or a dealer for a replacement tank. Check the guide on Fleck 5600SXT Salt Bridge Formation: Causes and Fixes for signs of tank damage.
How long does the cleaning process take?
Plan for about 2 to 3 hours from start to finish. This includes draining, scrubbing, rinsing, drying, and refilling. The actual scrubbing and rinsing consume most of the time. If you also perform a full system regeneration afterward, add another hour.
Do I need to replace the salt grid during every cleaning?
No, only replace the salt grid if it is visibly cracked, warped, or has broken ridges. The grid helps keep salt separated from the tank bottom, which reduces sludge buildup. If it’s in good condition, simply scrub it and reinstall it.
Will cleaning the brine tank affect my Fleck 5600SXT settings?
No, cleaning the brine tank does not require changing the control valve programming. However, after cleaning, you should run a manual regeneration to reset the system and confirm proper brine draw. The settings for capacity, salting amount, and regeneration time remain unchanged from your original configuration.