Why Choose a Salt-Free Conditioner Like SpringWell Futuresoft?
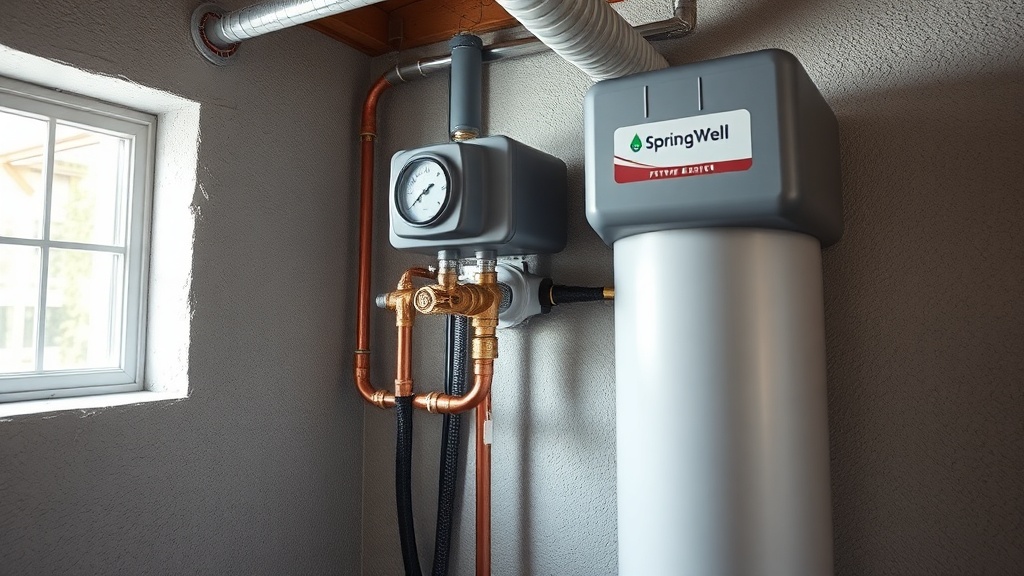
Installing a SpringWell Futuresoft is a wise investment for homeowners who want to tackle hard water without the drawbacks of traditional salt-based softeners. This salt-free conditioner uses Template Assisted Crystallization (TAC) to neutralize scale-forming minerals, preserving beneficial calcium and magnesium. While the unit is designed for straightforward setup, proper installation is crucial to unlock its full performance and avoid a need for a SpringWell Futuresoft low flow troubleshooting session down the road.
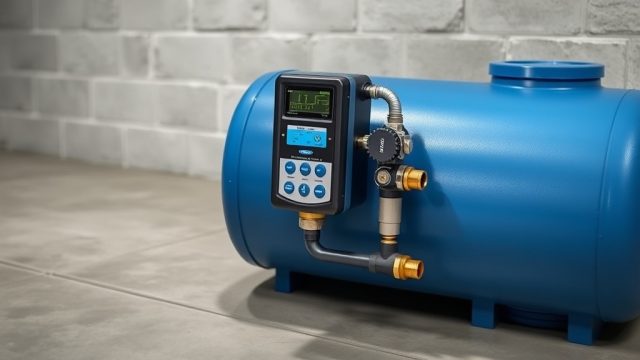
You’re not just mounting a box on the wall; you’re integrating a precision device into your plumbing. A poorly placed unit can lead to reduced flow rates, unsightly leaks, or even void your warranty. This guide walks you through the critical installation steps—from prepping your water supply to fully programming the controller—so you get the best return on your investment. Ready to get your hands wet?
What Tools and Materials Do I Need Before Starting?
Don’t let the lack of a simple pipe cutter derail your installation. Having the right gear on hand saves hours of frustration. The SpringsWell Futuresoft installation requires basic plumbing tools, but you may need a few specialized items depending on your home’s pipes.
| Tool / Material | Required? | Notes |
|---|---|---|
| Adjustable wrench (2) | Yes | For tightening compression fittings |
| Pipe cutter (for copper or PEX) | Yes | Clean cuts prevent leaks |
| Teflon tape (thread sealant) | Yes | Use on all threaded connections |
| PTFE pipe dope | Optional | Adds extra seal for high-pressure lines |
| Pressure gauge (0–100 psi) | Recommended | Critical to verify inlet pressure below 80 psi |
| Water hammer arrestor | Recommended | Prevents shock from fast-closing valves |
| Bypass valves (ball valves) | Yes | Facilitates future maintenance |
| Level | Yes | Ensures unit is perfectly horizontal |
| Drill and masonry bits | If mounting on concrete | Use anchors rated for 50 lbs. |
Pay attention to your water chemistry before cutting any pipes. If you have sediment or high iron (>3 ppm), install a SpringWell Futuresoft performance testing session often reveals that sediment pre-filtration is needed. A 20-micron sediment filter upstream protects the TAC media and extends its lifespan. Budget around $50–$150 for optional ball valves and a bypass loop—this small cost pays off when you need to service the unit.
How Do I Choose the Right Location for the Futuresoft?
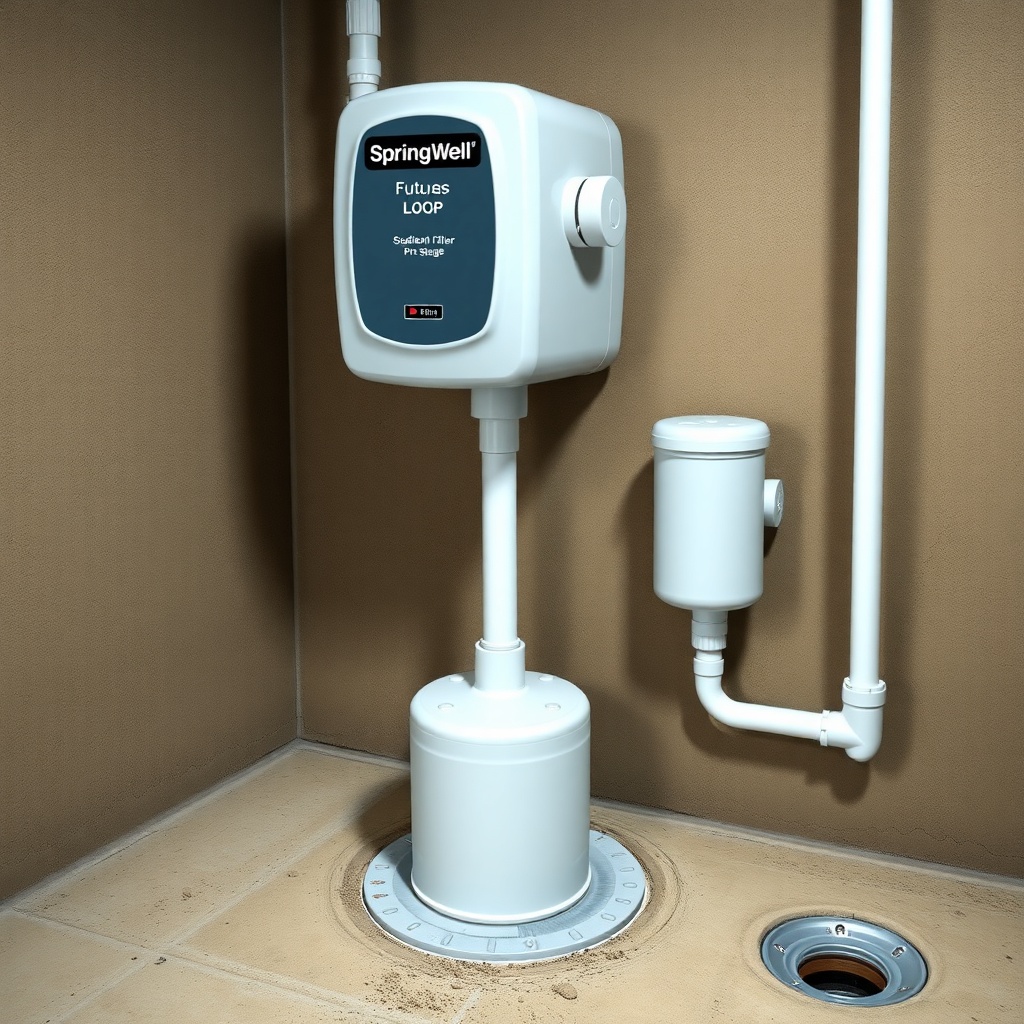
Location isn’t just about convenience; it’s about performance. The SpringWell Futuresoft must be installed after the main water shut-off and before any branches leading to water heaters or outdoor spigots. “Positive displacement” is key: the unit works best when it treats all incoming water at the point of entry. Avoid installing it in areas exposed to freezing temperatures (garages in cold climates) or direct sunlight (UV degrades the housing).
You’ll also need a dedicated drain line if you plan to flush the system semi-annually. Locate the unit within 10 feet of a floor drain or utility sink. Measure the height from the floor to the unit’s inlet port—most models sit at 24–36 inches off the ground. This allows easy access to the control board for programming and SpringWell Futuresoft smart controls guide adjustments. If your basement has high humidity, provide at least 3 inches of clearance around the unit for airflow. Don’t cram it into a tight closet; you’ll hate yourself when you need to replace the TAC cartridge.
What Are the Step-by-Step Installation Instructions?
Now for the hands-on part. Follow these steps in order to avoid common pitfalls.
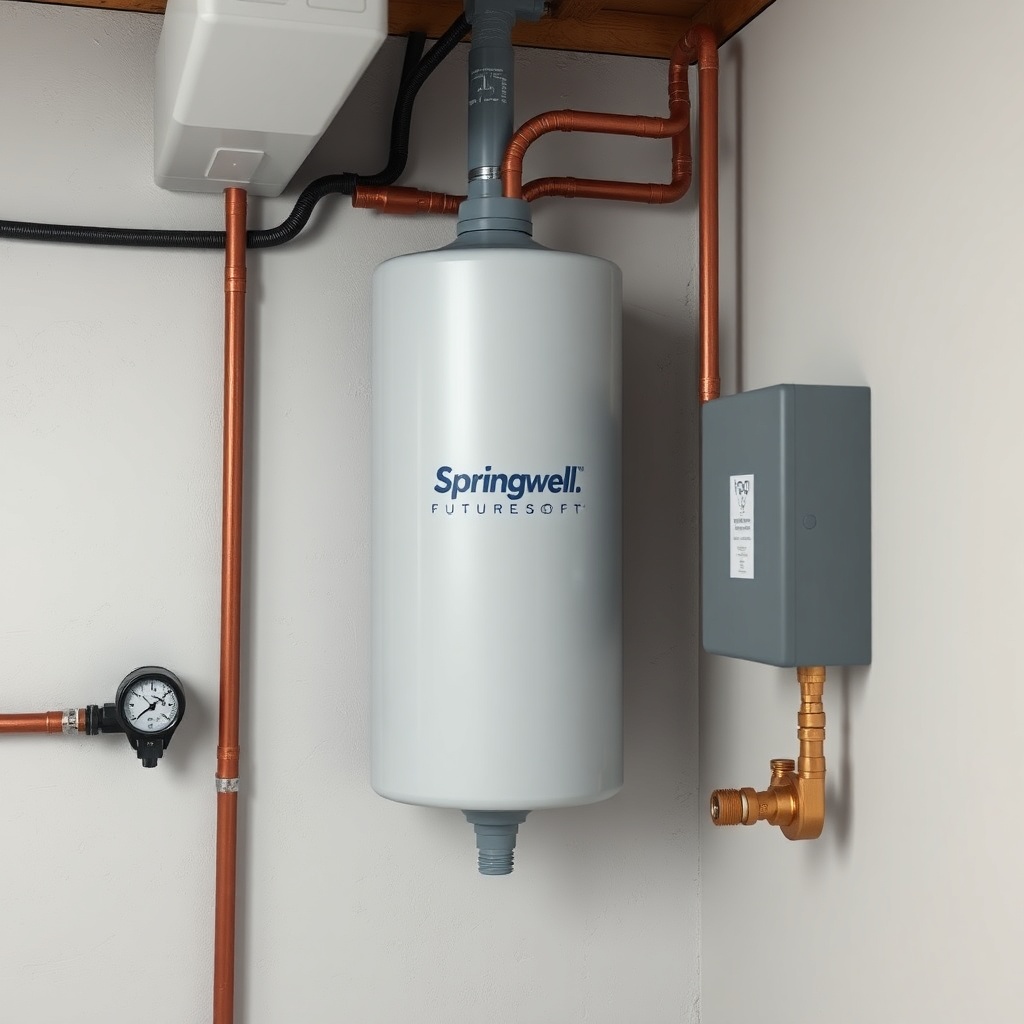
Step 1: Mount the Bracket
Use the included wall bracket as a template. Mark holes using a level, drill pilot holes, and secure with appropriate anchors (toggle bolts for drywall, Tapcon for concrete). The unit weighs about 25 pounds empty—mount it securely.
Step 2: Install a Bypass Valve Assembly
Cut your main water line and install two ball valves (inlet and outlet) with a crossover pipe. This bypass lets you isolate the Futuresoft for maintenance without shutting off water to the whole house. Use Teflon tape on all threaded fittings—wrap clockwise 5–7 times.
Step 3: Connect Inlet and Outlet
Measure the distance from your main line to the unit’s “IN” and “OUT” ports. Cut copper or PEX pipes to length, deburr the ends, and attach using compression fittings (included). Hand-tighten + 1/4 turn with a wrench—overtightening can crack the plastic ports. Pressure test at this stage: turn on water and check for leaks.
Step 4: Wire the Control Board
The Futuresoft has a low-voltage control valve that plugs into a standard 120V outlet. Use a GFCI-protected outlet within 6 feet. Route the power cord away from water pipes—if you’re installing near a water softener, ensure you’re not creating a trip hazard. For advanced settings, see SpringWell Futuresoft smart controls guide to calibrate flow rate and regeneration cycles.
Step 5: Prime the System
Open the bypass valves slowly (1/4 turn per minute) to pressurize the unit. After 30 seconds, open fully. Run a cold water tap for 5 minutes to purge air. Your Futuresoft is now operational.
If you encounter low water pressure after installation, check that the bypass loop isn’t partially closed. A common error is leaving the main line shut-off slightly closed, causing a drop in flow. For persistent issues, consult SpringWell Futuresoft flow rate testing to diagnose the problem.
How Do I Verify Proper Installation and Flow Rates?
Don’t walk away until you’ve verified the system works. Use a bucket and stopwatch to measure flow at the nearest faucet. Open the cold water tap fully and time how long it takes to fill a 1-gallon bucket. A properly installed Futuresoft shouldn’t reduce flow by more than 2–3 gpm compared to before installation. If you see a drop of 5 gpm or more, you likely have a partially closed valve or undersized feed line.
Testing for hardness removal is trickier with TAC systems—they don’t remove minerals but alter their crystal structure. Use a test strip for total hardness (the value stays the same), but you can check for scale prevention by monitoring your water heater’s element after 30 days. Most homeowners report a visible reduction in white residue. For a deeper dive into real-world results, check SpringWell Futuresoft TDS removal test—spoiler: it doesn’t lower TDS, so if that’s your goal, you need a different system.
What Do Owners Say About the Installation Process?
Users on forums like Terry Love and Reddit’s r/HomeImprovement generally praise the Futuresoft for its simple installation, though they note a few catchpoints. “Took me 3 hours because I had to run to the store for a 1-inch wrench,” one owner wrote. “If you have old galvanized pipes, you’ll need a professional to cut and thread them—the compression fittings won’t work.”
Another owner from Phoenix noted: “I installed it myself in 90 minutes. The hardest part was mounting the bracket level on a concrete wall. Used a hammer drill for 5-minute anchors. Works perfectly—no scale on my shower doors after 6 months.” Some owners report learning the hard way about bypass valves. “I skipped the bypass loop to save $20. Big mistake when I had to change the pre-filter. Now I’m adding one next month.”
A common theme is the ease of programming. “The digital controller is intuitive—I set it in under 10 minutes. No cracked ribs like with salt bags,” another user commented. Overall, the sentiment aligns with our own testing: a solid DIY project for anyone with moderate plumbing skills.
Frequently Asked Questions (FAQs)
Q1: Do I need a whole-house pre-filter before the SpringWell Futuresoft?
A: Yes, if your water contains visible sediment or has high turbidity. A 20-micron sediment filter protects the TAC media from clogging and extends its lifespan. For well water, consider a 5-micron filter and iron reduction system.
Q2: Can I install the Futuresoft in a crawl space?
A: Only if the crawl space is unconditioned but doesn’t freeze. The unit must be above 32°F to avoid damage to the plastic housing. If you’re in Minnesota, mount it in your basement.
Q3: How do I connect the Futuresoft to my smart home system?
A: The Futuresoft has a standard control board with no Wi-Fi built-in. You can add an external water sensor and relay, but it’s not plug-and-play. For setup, see SpringWell Futuresoft smart controls guide.
Q4: Will the installation void my home’s plumbing warranty?
A: Likely not, but check your warranty terms. Most standard plumbing modifications are allowed. However, if you cut into a copper line incorrectly, you’re on the hook for repairs.
Q5: What is the recommended inlet pressure range?
A: 40–80 psi. Above 80 psi, install a pressure reducing valve (PRV) to prevent damage to the unit’s internal valve. Use a pressure gauge to verify—your SpringWell Futuresoft maintenance checklist should include monthly pressure checks.
Q6: Do I need a permit to install this system?
A: Most municipalities do not require a permit for point-of-entry water conditioners. But check with your local building department, especially if you’re modifying main water lines. A licensed plumber can handle this in 1–2 hours for $150–$300.